To install the IPerUpgrade Tool, simply run the file IPerUpgrade2.x.x Setup.exe on your PC or laptop.
When running the program for the first time, you will see the following Windows Security Alert. You must allow the IPerUpgrade Tool access to the network to enable the setup by simply clicking “Allow access”.
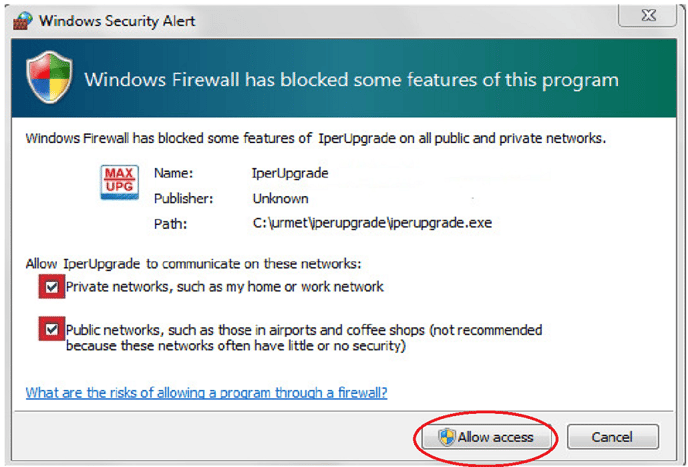
Be aware that if the Windows Firewall is not configured in this way, the program will not work.
You should also remember the following things when using the IPerUpgrade Tool:
- The network interface adapter that is connected to the IPerCom network must be set with only one IP address.
- Multicast group communication must not be disabled on the network. If multicast is disabled, the IPerUpgrade program will not work.
- The adapter card of the PC connected to the IPerCom network must be in the same IP address range as the IPerCom devices. If the IP address range of the IPerCom devices is not known i.e., if the IPerCom system has not yet been configured, the adapter card of the PC must be set to obtain an IP address automatically.
- In larger systems where there is greater network traffic, it may be necessary to run the upgrade program multiple times to complete the upgrade of all devices.
Please note, the IPerUpgrade Tool runs on Windows 7, 8, 8.1 and 10.
Use this link to download the IPerUpgrade software if you haven't already