How to install the Installer Tool software
This article shows you how to install the IPerCom Installer Tool software for the first time, step-by-step, in preparation for setting up your new IPerCom system.
Please note, the Installer Tool software will have been supplied on a USB key in the Installation Pack, or you can also download it directly here IPerCom Installer Tool
Step 1:
Once you've opened the Installer Tool application on your desktop, you'll be asked to select the version of the IPerCom system you will be working on. If you don’t know which version of IPerCom you’ll be using, then you’ll notice that the drop-down displays ‘Auto-Detect (Live)’.
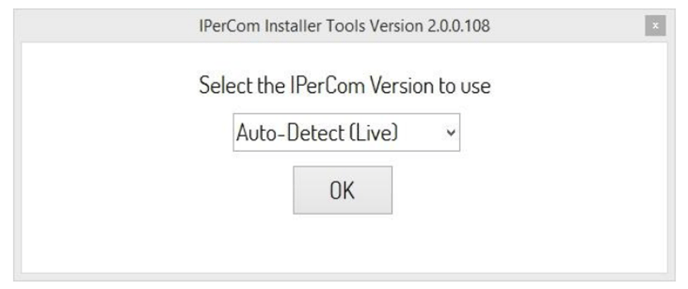
Clicking ‘Auto-Detect (Live)’ means that the software will automatically detect the latest IPerCom firmware version– click ‘OK’ to begin the search.
Step 2:
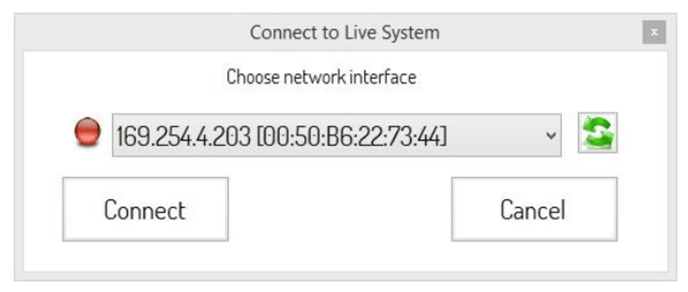
You need to select the network interface you are connecting to the IPerCom system with. The network interface adapter that is connected to the IPerCom network must be set with only one IP address. However, in a new system which has not been configured, all devices will have self-assigned IP addresses and so the PC must also have a self-assigned address.
Step 3:
Once you have clicked on connect, the pop-up window below will appear. This will validate the firmware on the connected equipment.
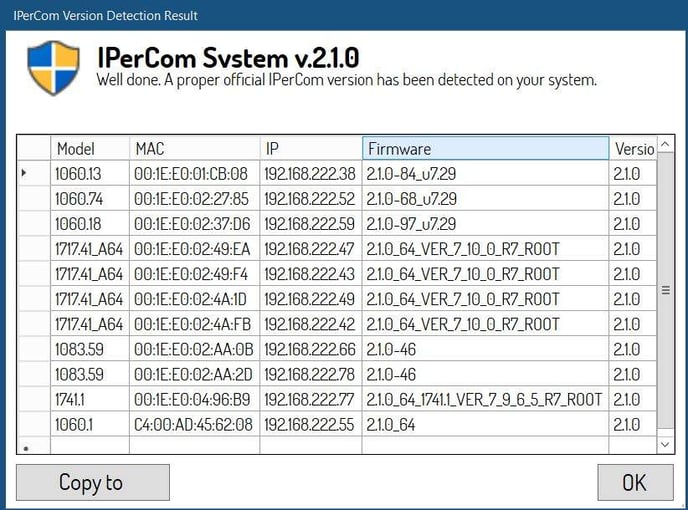
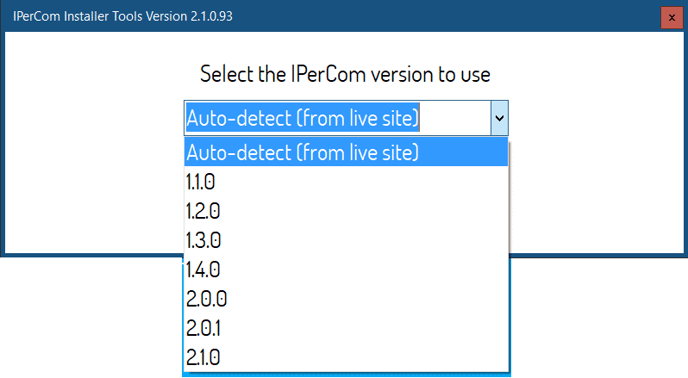
If you already know the firmware on the site then you will not need to select Auto-detect, you can simply select the version from the drop down option in step 1.
Step 4:
Now you'll notice that you're in the IPerCom Installer Tool where you've been taken to the home screen, now that you've chosen the system version.
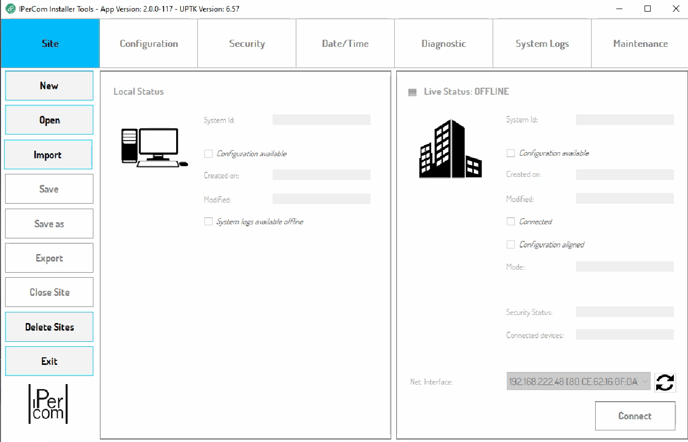
Please note, all devices on the IPerCom system should be running at the same firmware version before any configuration or site set up takes place.
To upgrade your IPerCom devices please refer to the following article:
